



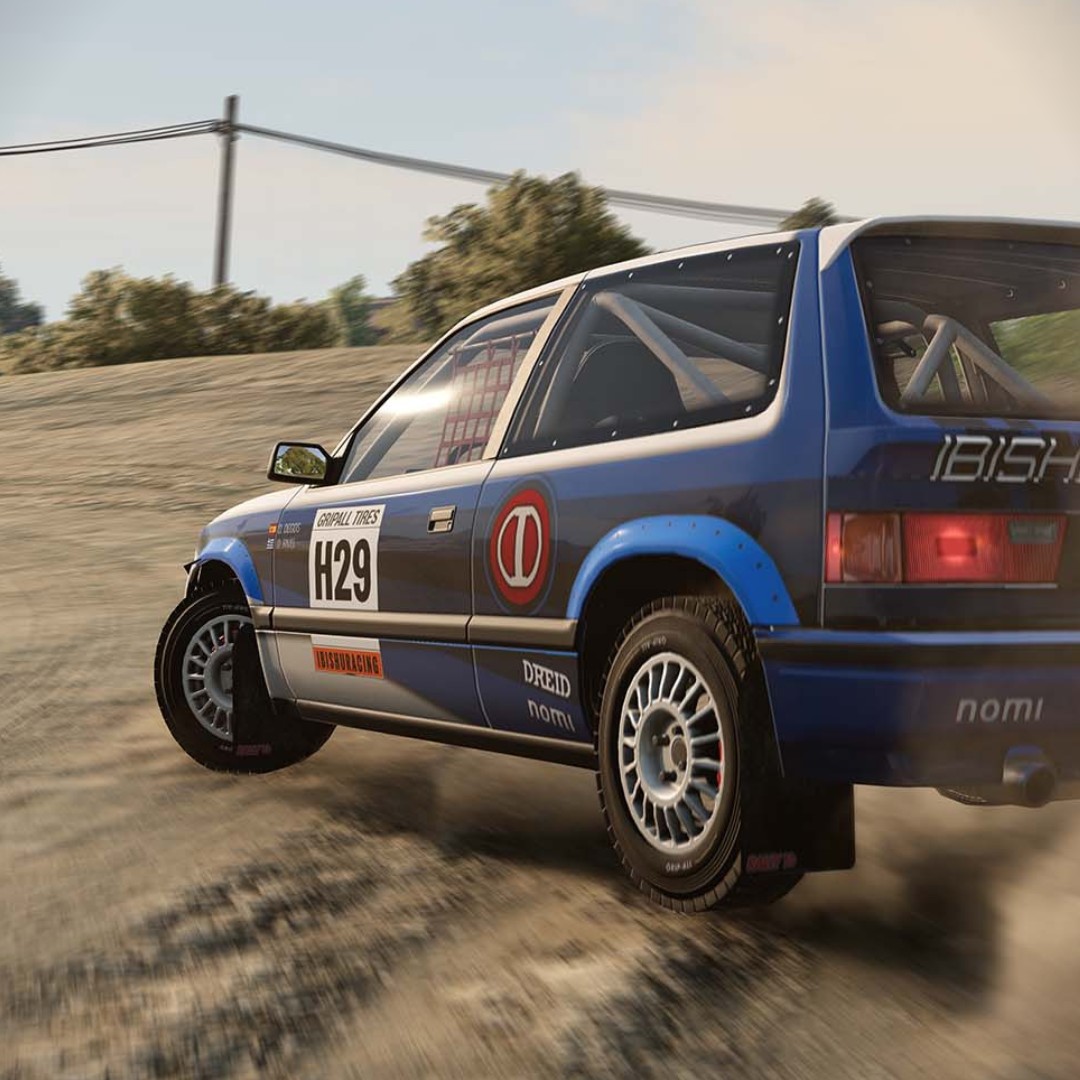
BeamNG.drive: RaceHub™ and Game Setup

BeamNG.drive builds its handling on a soft-body physics simulation, which makes correct force feedback setup worth a few minutes of your time. This guide covers importing the recommended Asetek preset into RaceHub, and assigning your controls. Remember, these settings are a starting point for further fine-tuning. Try our settings and adjust them according to your preferences.
Force Feedback Settings
| Invicta | Forte | La Prima+ | La Prima | Initium+ | Initium |
By downloading the preset package above, you can import the official recommended wheelbase settings for RaceHub for BeamNG.drive.
- Open RaceHub.
- Go to the “Wheelbase” menu -> “Force Feedback Settings”
- Click the three dots next to “Preset”.
- Click “Import as new”.
- Find the BeamNG.drive preset for your wheelbase in the folder you just downloaded.
- Click “Save to wheelbase”.
In-Game Settings
RaceHub is now done. The rest happens in BeamNG.drive’s own force feedback menu.
- Launch BeamNG.drive.
- From the main menu, navigate to “Options” -> “Controls” -> “Vibration/Force Feedback” -> “Add Binding”. After adding the steering wheel axes, continue with the in-game settings below.
| Invicta 27Nm |
Forte 18Nm |
La Prima+ 16Nm |
La Prima 12Nm |
Initium+ 8Nm |
Initium 5.5Nm |
|
|---|---|---|---|---|---|---|
| Steering Angle | 1800° | 1800° | 1800° | 1800° | 1800° | 1800° |
| 1:1 Behaviour | “Normal” | “Normal” | “Normal” | “Normal” | “Normal” | “Normal” |
| Inverted Axis | Unchecked | Unchecked | Unchecked | Unchecked | Unchecked | Unchecked |
| Linearity | 1 | 1 | 1 | 1 | 1 | 1 |
| Deadzone (rest) | 0 | 0 | 0 | 0 | 0 | 0 |
| Deadzone (end) | 0 | 0 | 0 | 0 | 0 | 0 |
| Force Feedback Configuration | Checked | Checked | Checked | Checked | Checked | Checked |
| Inverted | Unchecked | Unchecked | Unchecked | Unchecked | Unchecked | Unchecked |
| Strength | 140 | 140 | 140 | 150 | 170 | 170 |
| Steering Lock Strength | 34% | 34% | 34% | 34% | 34% | 34% |
| Side Acceleration Strength | 0% | 0% | 0% | 0% | 0% | 0% |
| Reduce Strength While Parked | Checked | Checked | Checked | Checked | Checked | Checked |
| Use Logitech Features | Unchecked | Unchecked | Unchecked | Unchecked | Unchecked | Unchecked |
| Smoothing | 20% | 20% | 20% | 20% | 20% | 20% |
| Automatic Secondary Smoothing | Checked | Checked | Checked | Checked | Checked | Checked |
| Update Rate | Automatic | Automatic | Automatic | Automatic | Automatic | Automatic |
| Update Type | Fast | Fast | Fast | Fast | Fast | Fast |
| Use Response Correction Curve | Unchecked | Unchecked | Unchecked | Unchecked | Unchecked | Unchecked |
While these presets and settings are a great starting point, adjusting and tweaking the settings to your personal preference can make a big difference and is exactly what RaceHub is for.
Setting up your controls
Now, all you need to do is assign your controls in-game. As this is a personal preference, we won’t go too much into detail here, except for how it is done.
- Launch BeamNG.drive.
- Navigate to “Settings” -> “Controls” -> Bindings
Here you will find multiple categories of controls, such as “vehicle specific” to “General”. Simply go through each of them and set them up one by one.
- Click the control you want to set up.
- Use the input you wish to assign (push the pedal/click the button).
Now that you have set up the force feedback, enabled the telemetry, and assigned your controls, you are ready to hit the track. Happy racing!



 Back to top